
How to Reset Windows 10 Password with Ubuntu Live CD/USB

How to Change Windows Password from Ubuntu Live CD

Ubuntu Live CD is a famous tool that is used to deal with PC problems as well as Windows computer login password. However, most of users are lacked of knowledge about it and have no idea about the operation to reset password in Windows. In this tutorial we will discuss how to reset Windows password with Ubuntu Live CD correctly. Windows 10/8.18/8/7/Vista/XP are included.

Part 1. Steps to Reset Windows Password with Ubuntu Live CD/USB

Wondering how to reset Windows 10 password with Ubuntu? Here are the detailed steps with screenshots to teach you how to reset Windows password with Ubuntu Live CD or USB flash drive.
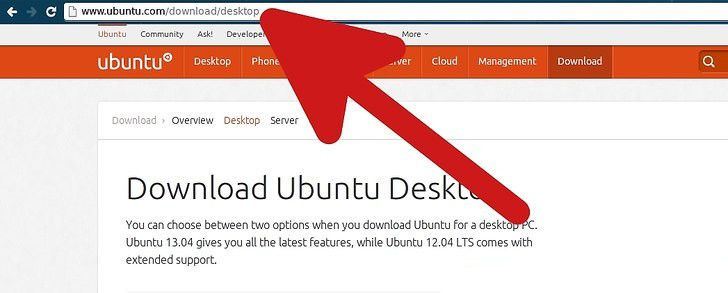
Step 1. To get started, using another accessible desktop or laptop and navigate to Ubuntu official website and free download Ubuntu Desktop from that page.
download Ubuntu Desktop
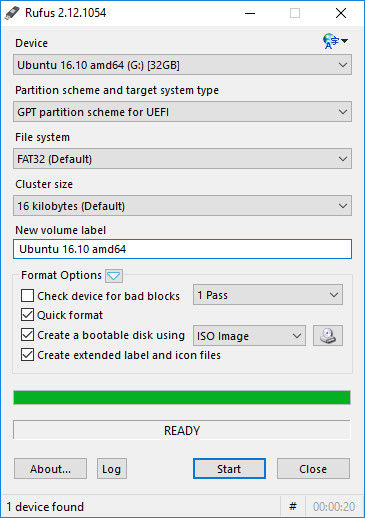
Step 2. Burn and create the ISO image to a CD or USB using the freeware like Rufus, Universal USB Installer or ISO2Disc.
Rufus
Step 3. Open web browser and visit http://packages.ubuntu.com/lucid/chntpw to download and install Ubuntu Chntpw from Ubuntu Universe repository to your Ubuntu live disk.
download chntpw
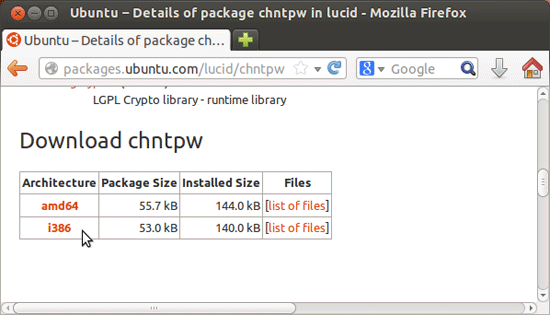
if you are not sure what is the architecture of your machine then follow  this

Go to your Terminal and type the below commands.

sudo apt update  
sudo apt install chntpw  

Step 4. After that, change BIOS setting of your locked computer and let it to boot from your CD/DVD or USB by pressing buttons like F2, F10, F12.
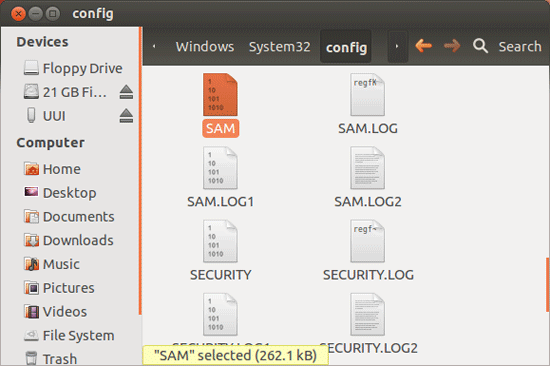
Step 5. Restart the locked PC and it will automatically lead to Ubuntu Live CD/USB. Now you need to find out the “SAM” file which is to store your Windows login password.
Ubuntu Windows SAM
Step 7. Run Command Prompt and open terminal by taping on Applications > Accessories > Terminal.
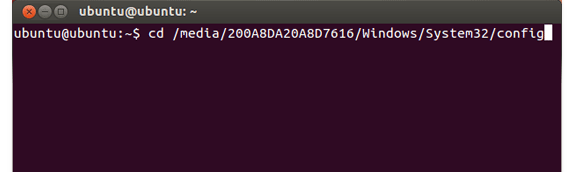
Step 8. Copy and paste the below command line to Terminal:
cd /media//WINDOWS/system32/config
Ubuntu Terminal
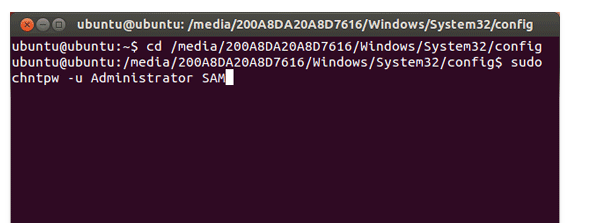
Step 9. If you would like to change Windows 7 administrator password, type the following command line to run chtpw and reset Windows 7 password with Ubuntu in the end:
sudo chntpw -u Administrator SAM
Ubuntu media
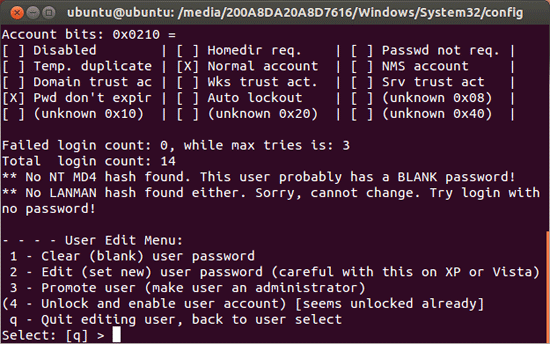
Step 10. You will see the list of user accounts in your Windows computer. Just type “2” to change account password and confirm with “y” key. 
Ubuntu reset password

Once you typed the new password, remove the live usb/cd and start your machine as normal.  When prompted for the password out the new password that you have set.

Comments

Popular posts from this blog

Use Portable VirtualBox to Take Virtual Machines With You Everywhere

Install Portable VirtualBox to an External Drive First, get started by downloading the Portable VirtualBox installer from vbox.me . Run the downloaded file and extract it to an external drive or wherever else you want to store your portable VirtualBox system. You can always move it later, if you like. Launch the Portable-VirtualBox.exe program from here and you’ll be prompted to download and install VirtualBox’s program files on your external drive. The tool can automatically download VirtualBox’s files for you. After it does, click the OK button to unpack them. If the full version of VirtualBox is already installed on your computer, you won’t see this screen and VirtualBox will just open instead. You’ll want to uninstall VirtualBox first or set this up on a computer without VirtualBox installed. Launch the program again after it finishes unpacking files. After you agree to a UAC prompt , you’ll see the standard VirtualBox window. A VirtualBox system tray icon...

Tiny 11 - A Lightweight Windows 11 that can run on 2GB RAM and requires less harddisk space.

  In terms of Windows 11, its   system requirements   are high since this system requires at least 4GB RAM, 64GB storage space, enabled TPM & Secure Boot, a high CPU (1 GHz or faster with 2 or more cores on a compatible 64-bit processor), etc. compared to any old Windows operating systems. If you have an old or lower-end PC, Windows 11 is not a good option to install since many issues like random crashes, blue screen errors, etc. could appear on the unsupported hardware. Overview of Tiny11 If you want to run Windows 11 on your old computer with low RAM and disk space, Tiny11 appears in public. It is a project from NTDev and Tiny11 is a Windows 11 tiny edition. This edition is based on Windows 11 Pro 22H2 and includes everything you need for a comfortable computing experience since this tool doesn’t have the bloat and clutter of a standard Windows installation. Tiny11 Requirements In terms of Tiny11 requirements, a scant 8GB of storage and just 2GB of RAM are requ...

Create a Restore Point for Windows 7 or Vista’s System Restore

If you are thinking of installing an application but aren’t quite sure what it’s going to do to your computer, I would absolutely recommend creating a restore point before you install that application, and here are the steps to do so. Note that most application installs automatically create a restore point, but you can do this if you are really worried. Open up the Start Menu and right-click on “Computer”, and then select “Properties”. This will take you into the System area of Control Panel. Click on the “System Protection” link on the left hand side. Now select the “System Protection” tab to get to the System Restore section. Click the “Create” button to create a new restore point. You’ll be prompted for a name, and you might want to give it a useful name that you’ll be able to easily identify later. Click the Create button, and then the system will create the restore point. When it’s all finished, you’ll get a message saying it’s completed successf...