A Brief About Elementary OS
elementary OS is a Linux distribution based on Ubuntu. It is the flagship distribution to showcase the Pantheon desktop environment,[3] similar to how Linux Mint introduced Cinnamon.
This OS is only supported on 64bit machine. Before you think of installing it, make sure that you check the architecture of your computer.
- In windows machine, right click on my computer, go to propertise and check the system type. it should read as 64 bit operating system
- In linux machine, run the command lscpu from your terminal. The output of this command will be somewhat as below
- Architecture: x86_64
CPU op-mode(s):        32-bit, 64-bit
Byte Order:            Little Endian
CPU(s):                4
On-line CPU(s) list:   0-3
Thread(s) per core:    2
Core(s) per socket:    2
Socket(s):             1
NUMA node(s):          1
Vendor ID:             GenuineIntel
CPU family:            6
Model:                 37
Stepping:              5
CPU MHz:               1199.000
BogoMIPS:              4787.75
Virtualization:        VT-x
L1d cache:             32K
L1i cache:             32K
L2 cache:              256K
L3 cache:              3072K
NUMA node0 CPU(s):     0-3
This tutorial explains how to install the newly released elementary OS Loki step by step. It assumes every reader is new to GNU/Linux, especially to elementary OS. You will install Loki by at least 12 steps at total time needed around 40 minutes. We hope you love elementary OS and use it happily.
Recommended Requirements
From elementary OS official documentation, it requires these specification:- Intel i3 or comparable dual-core 64-bit processor*
- 1 GB of system memory (RAM)
- 15 GB of disk space
- Internet access
Preparation
We assume you have downloaded the elementary OS Loki iso file. Then burn the iso file to a USB flash drive to make it a bootable disk. You may use Unetbootin (GNU/Linux and Mac) or Rufus (Windows) program to do it.
Prepare your hard disk drive first to have these items:
- A blank partition sized at least 20 GB. This will be the main partition (where Loki lives).
- A blank partition sized at leas 2 GB. This will be the swap.
- You can create them easily with GParted program.
Boot Up
Insert your USB drive > restart your computer > enter BIOS > set first booting into USB > restart > if you see any selection, select elementary OS (default) > if you should choose between Try and Install, select Try > you enter the desktop > open desktop menu (at top-left corner) > click Install elementary OS > an installer window comes. This window is an operating system installer called Ubiquity.
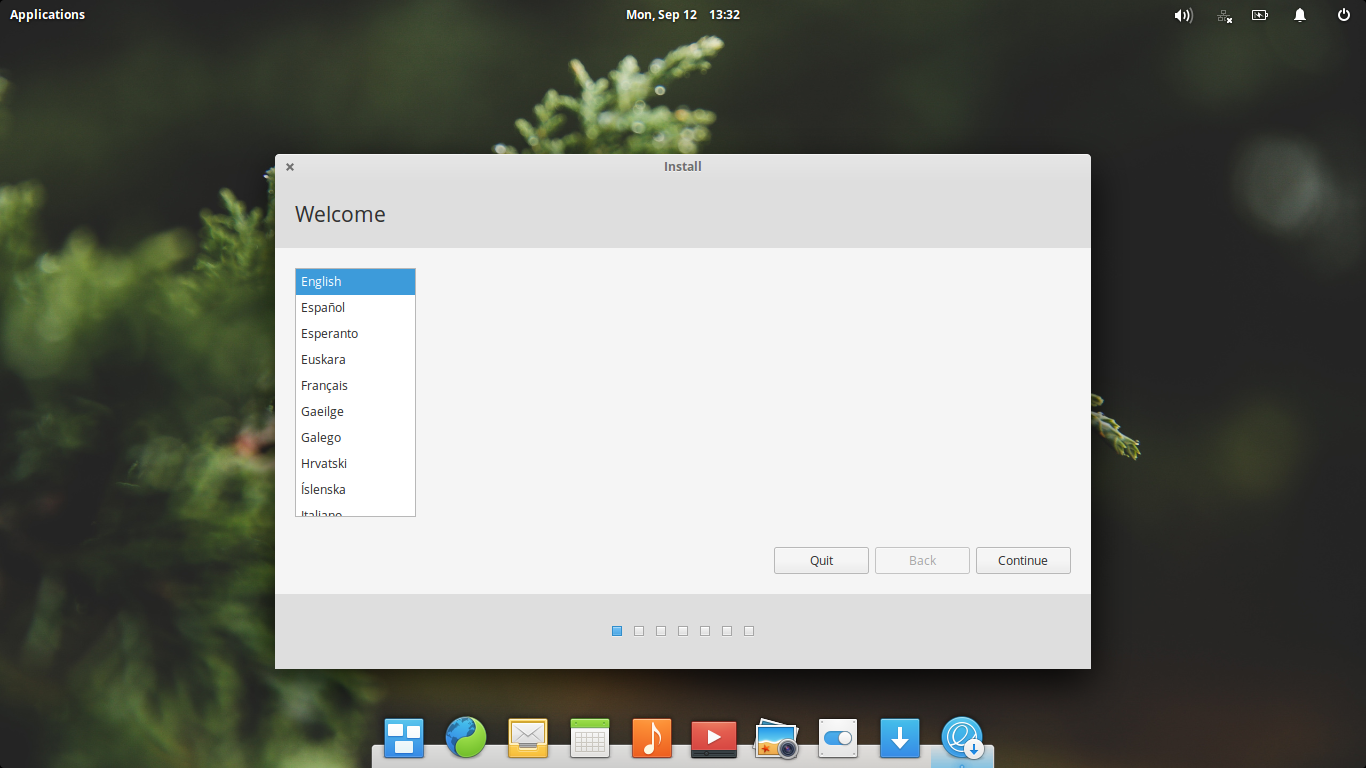
1. Select Language
The first page of Ubiquity (the elementary OS installer) will ask you for your prefered language. Choose English, or, at your option, your mother language.
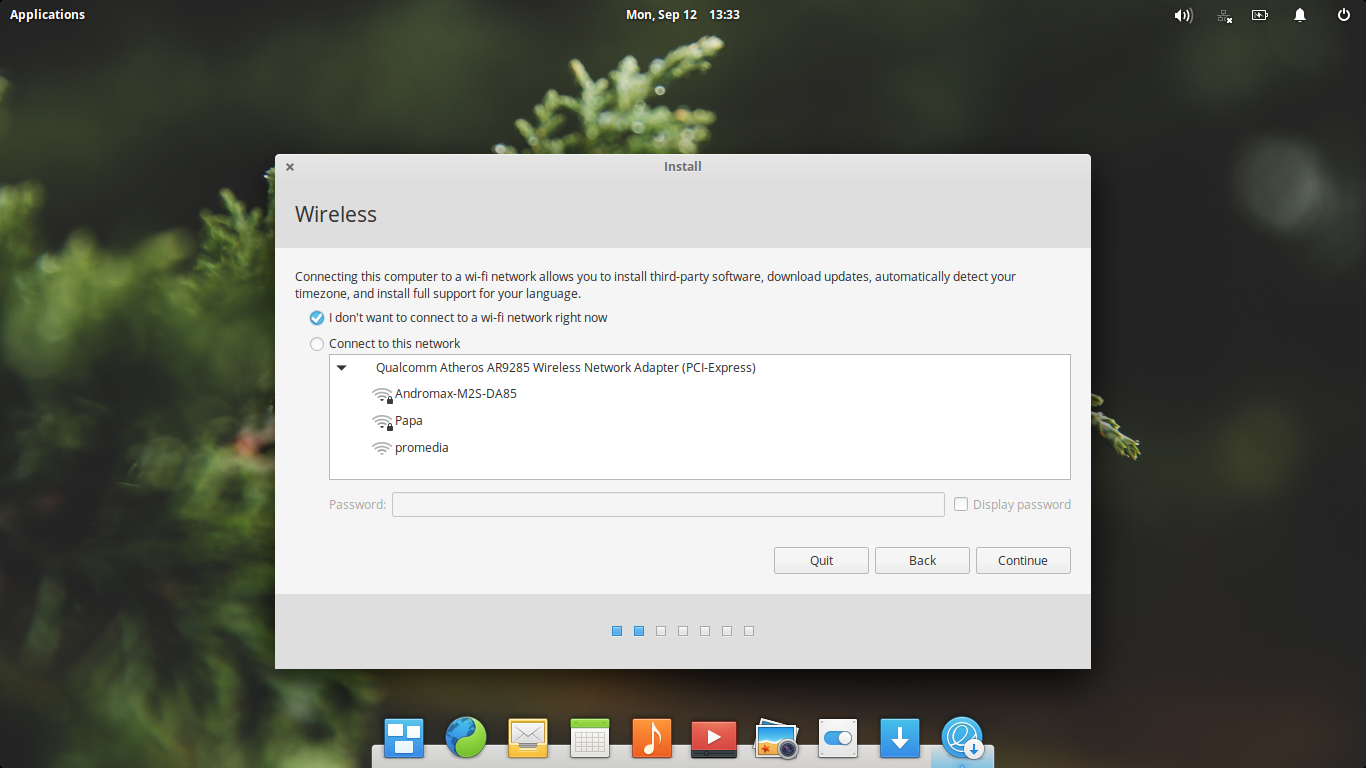
2. Select Network Connection
Second page of Ubiquity asks you about whether to use a network connection (wired or wireless) or not. The best selection here is NO, so choose "I don't want to connect...".
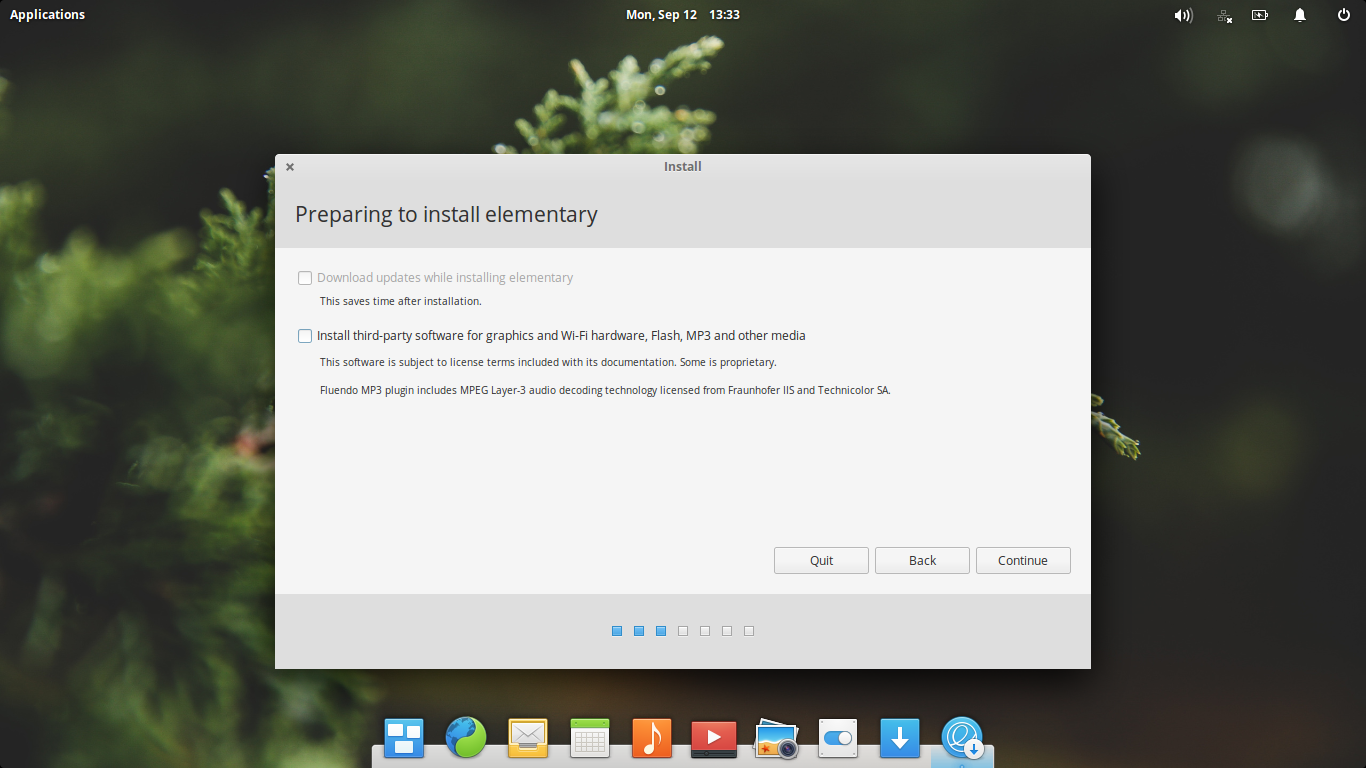
3. Select Third Party Programs
Third page of Ubiquity asks you about whether to install or not for third party programs (some proprietary software, some covered with proprietary patent laws). Example of these programs are Adobe Flash Player and Fluendo GStreamer framework. The best selection here is NO, so choose nothing here.
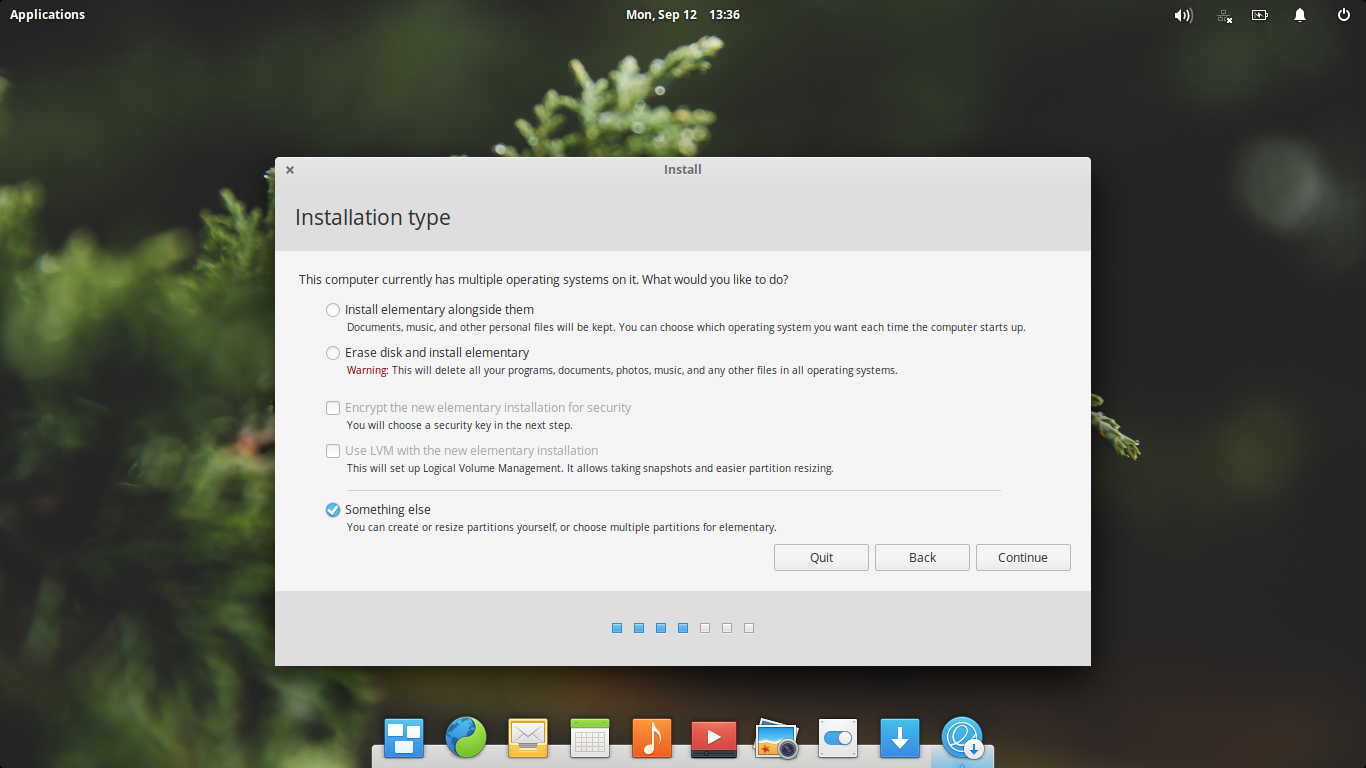
4. Select "Something Else" Partitioning
Fourth page of Ubiquity asks about partitioning style, whether you want the automatic or the manual way. The best choice is always the manual way, and don't believe any automatic partitioner, except your HDD is empty. So the choice here is Something Else.
5. Partitioning
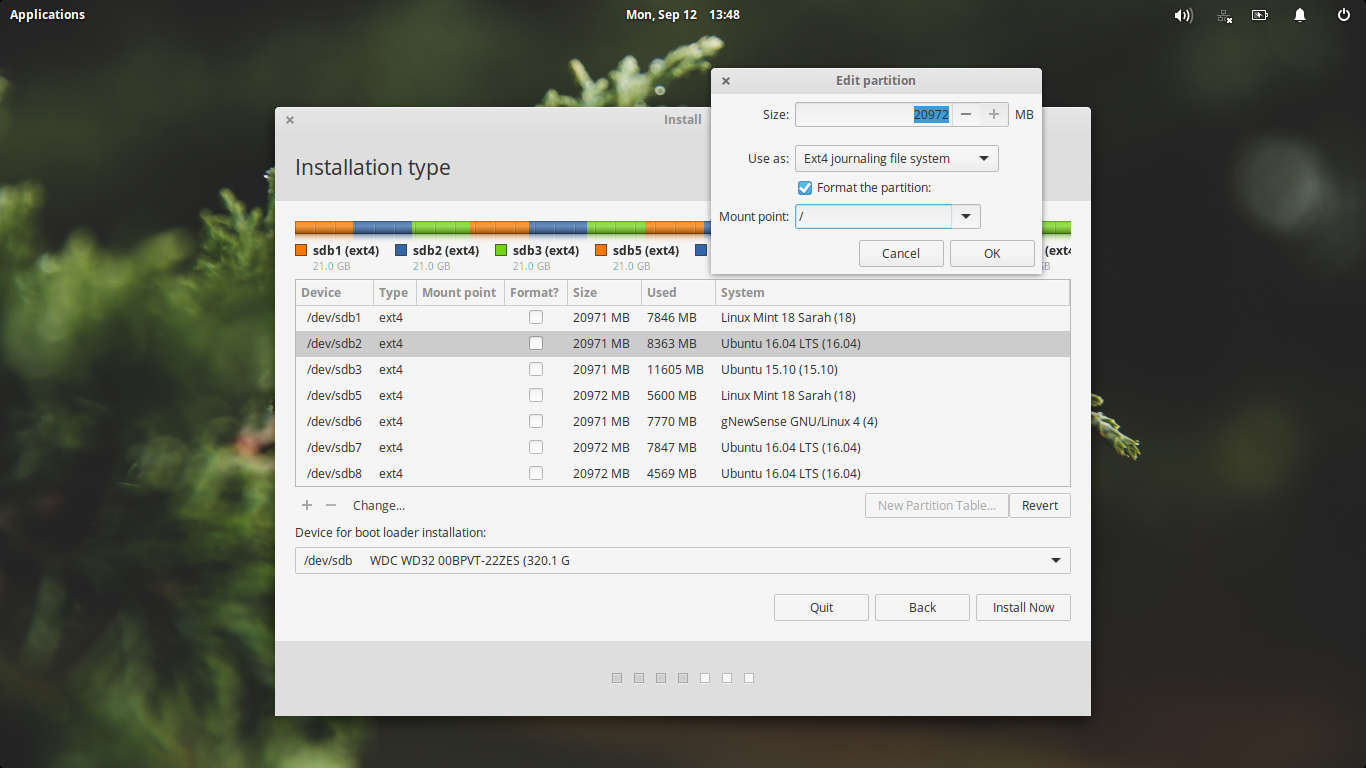
The most important part (and the most dangerous) is the fifth step, manual partitioning (but it's completely harmless if your HDD is empty). What to do here is basically two things: 1) creating main partition (namely "/"); 2) creating swap partition (namely "swap"). Pay attention here so you don't make any mistake, otherwise you may destroy all your data.
To create main partition, select a partition you have prepared before > click Change button > a new window "Edit Partition" comes >
- 1) determine the partition size
- 2) determine Use as: Ext4 journaling file syste
- 3) select "Format the partition"
- 4) determine Mount point: /
- click OK.
6. Creating Swap
To create swap partition, select a partition you have prepared earlier > click Change button > a new window "Edit Partition" comes >
- determine Size: 2 GB or more*.
- determine Use as: swap area.
- Click OK.
*) You don't have to use old formula "swap = 2 x ram amount" anymore for computers nowadays. It is considerably safe to give only 2 or 4 GB swap for most of todays desktop computers (including laptops). Few exceptions if your jobs require swapping (rare case), or you would use hibernation. Read Ubuntu SwapFaq document for detailed explanation.
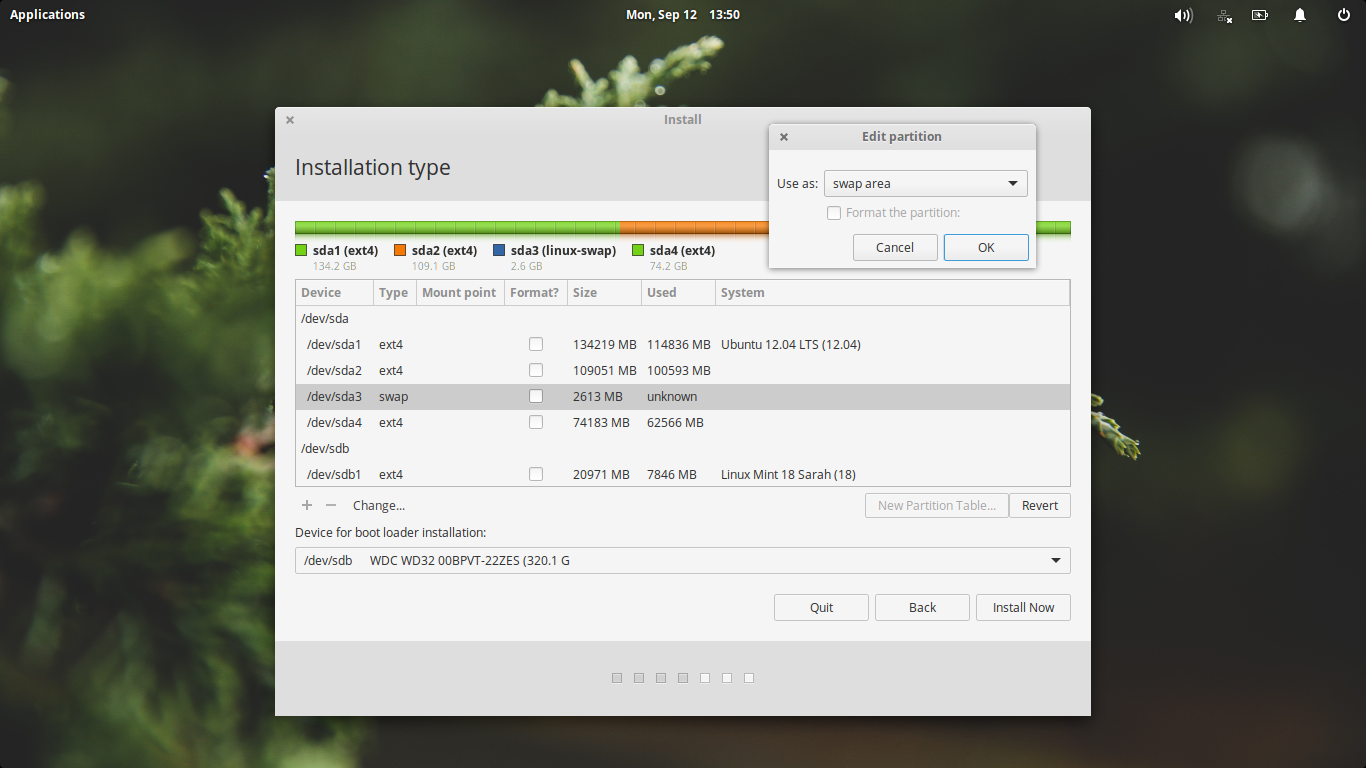
7. Partitioning Summary
Seventh step is examining partitioning summary. Ubiquity will inform you what partition will be formatted or created. Please read carefully, make sure the two partition you created earlier are correctly the two informed here. Don't make mistake, don't format wrong partition. This is the last chance to revert back before Ubiquity formats your partitions.For example: I set two partitions /dev/sdb2 as main, and /dev/sda3 as swap. So Ubiquity inform me partition #3 of sdb and partition #2 of sda respectively. They are correct. Read carefully before continuing.

8. Select Region
Eighth step is selecting region. Just select your region or your country. This will determine your time zone automatically. For example, I choose Asia, Jakarta.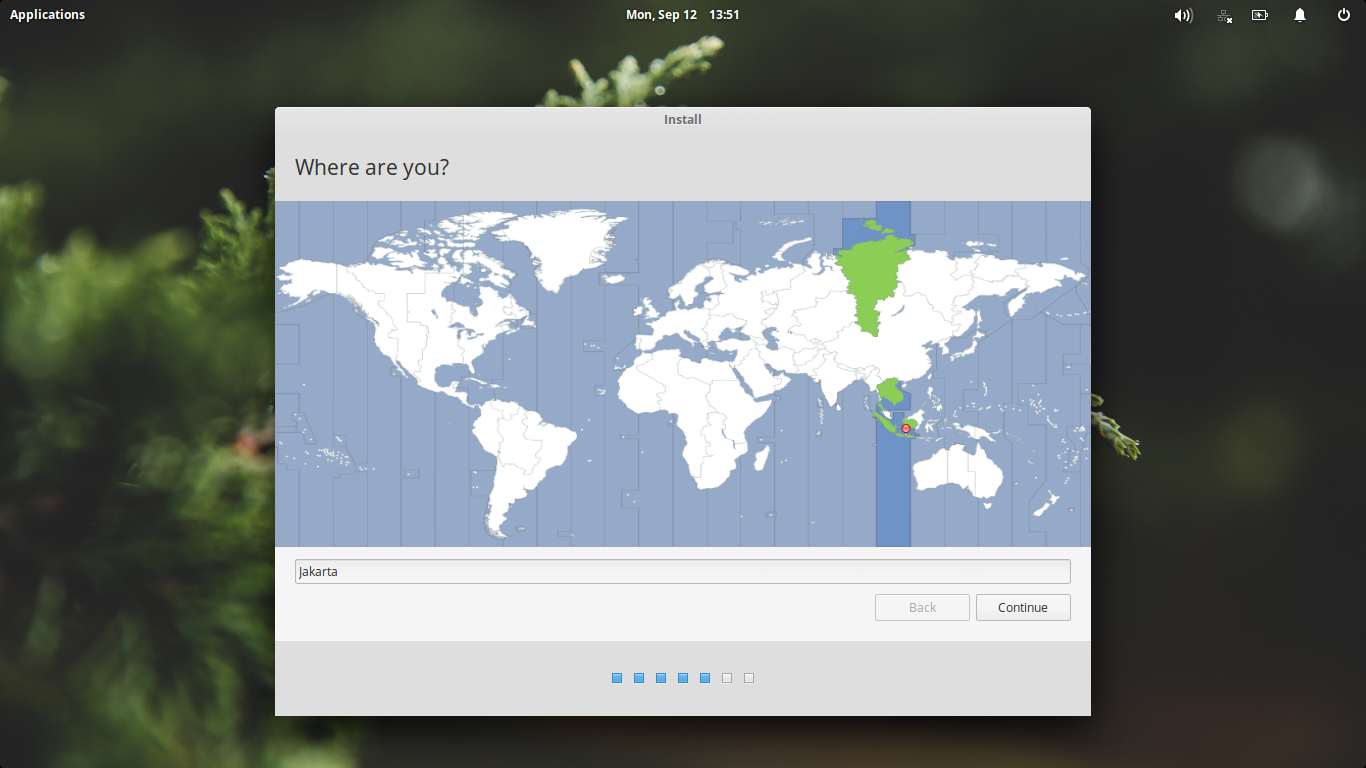
9. Select Keyboard
Ninth step asks you for your keyboard layout. For most users, default selection (English US, English US) is safe.

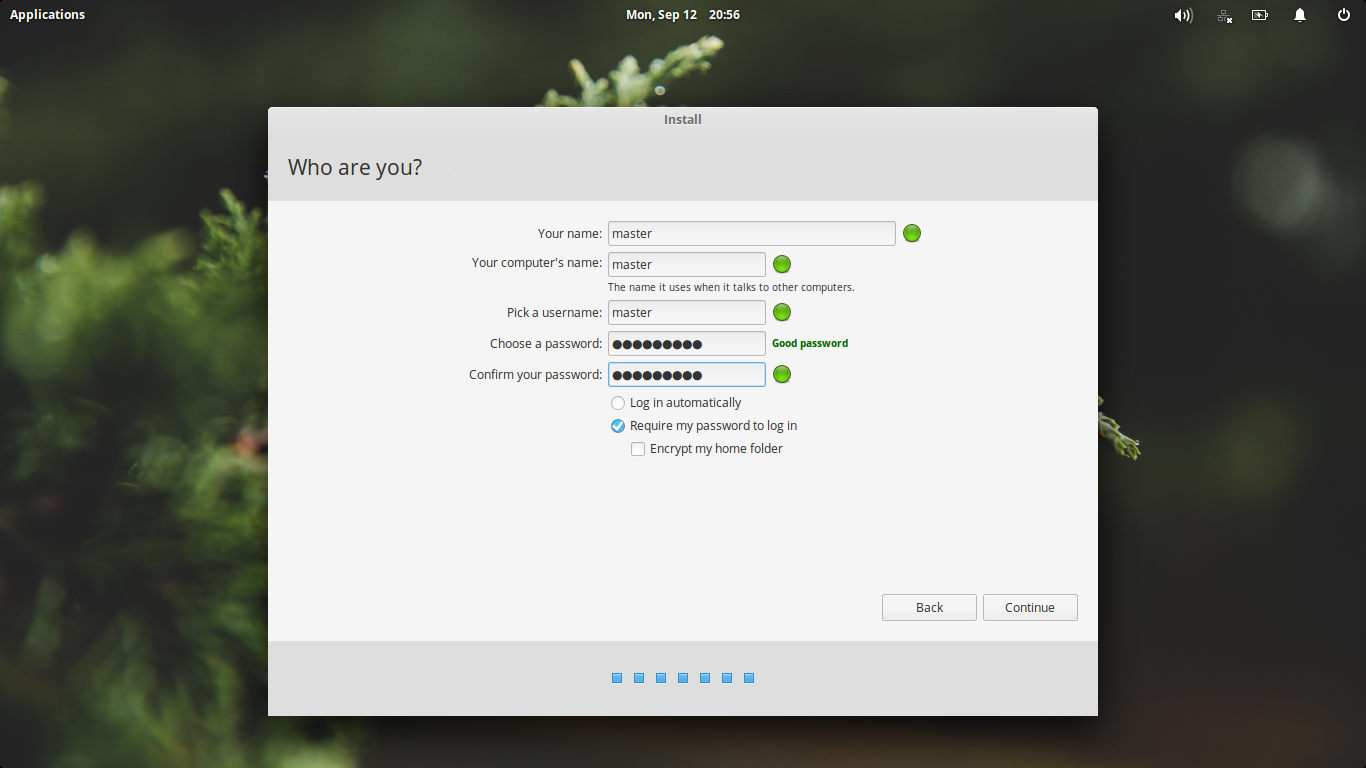
10. Create Username
Tenth step asks you the desired username and password for the elementary OS. Select "Require my password to log in" so anyone should enter password to use the system.
11. Wait for Installation Process
Eleventh step is merely waiting until the installation process is done. This process will also detect any other operating system installed in your computer, then shows list of systems selection (people call it: bootloader) at your booting time.
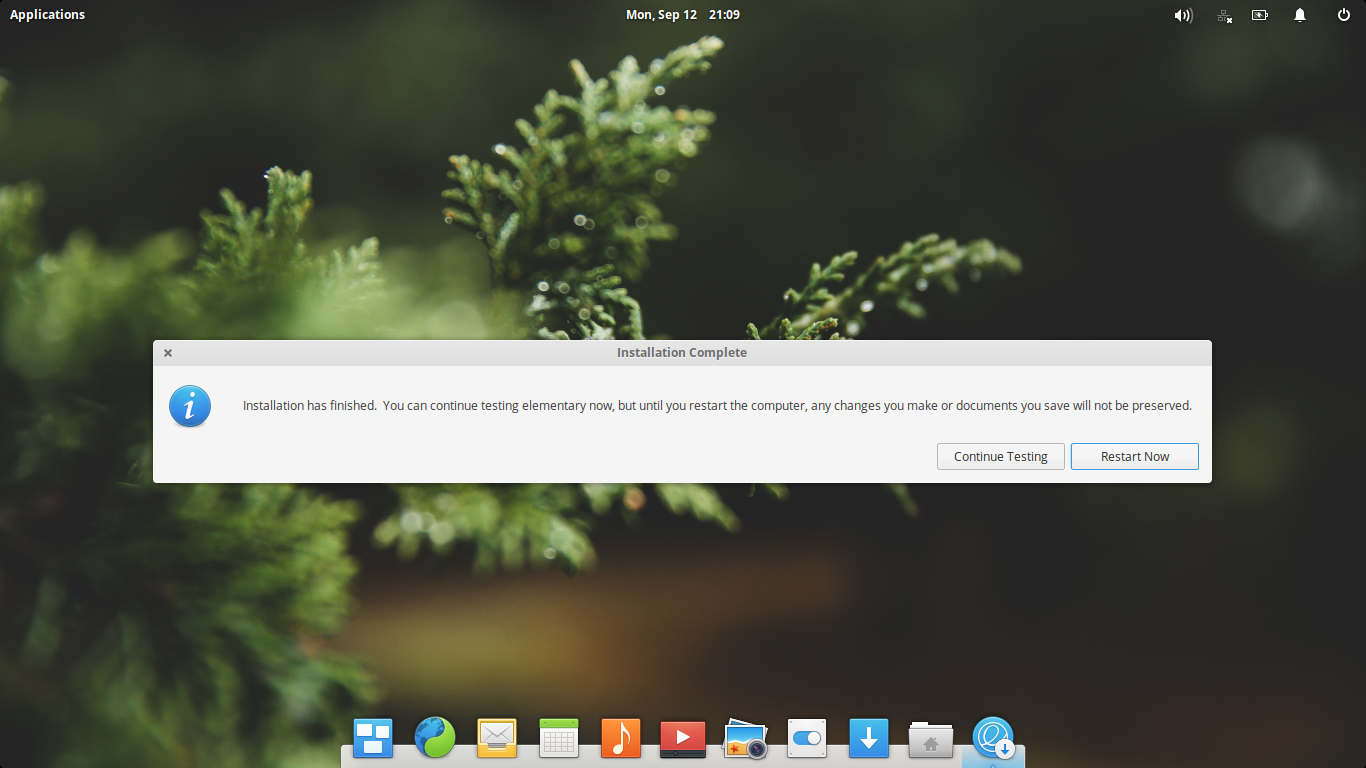
12. Finish
The last step is seeing Installation has finished statement from Ubiquity, which means your elementary OS Loki has successfuly installed. Go restart to use it.
Comments